DIY Sandbag Setup for Flood Prevention
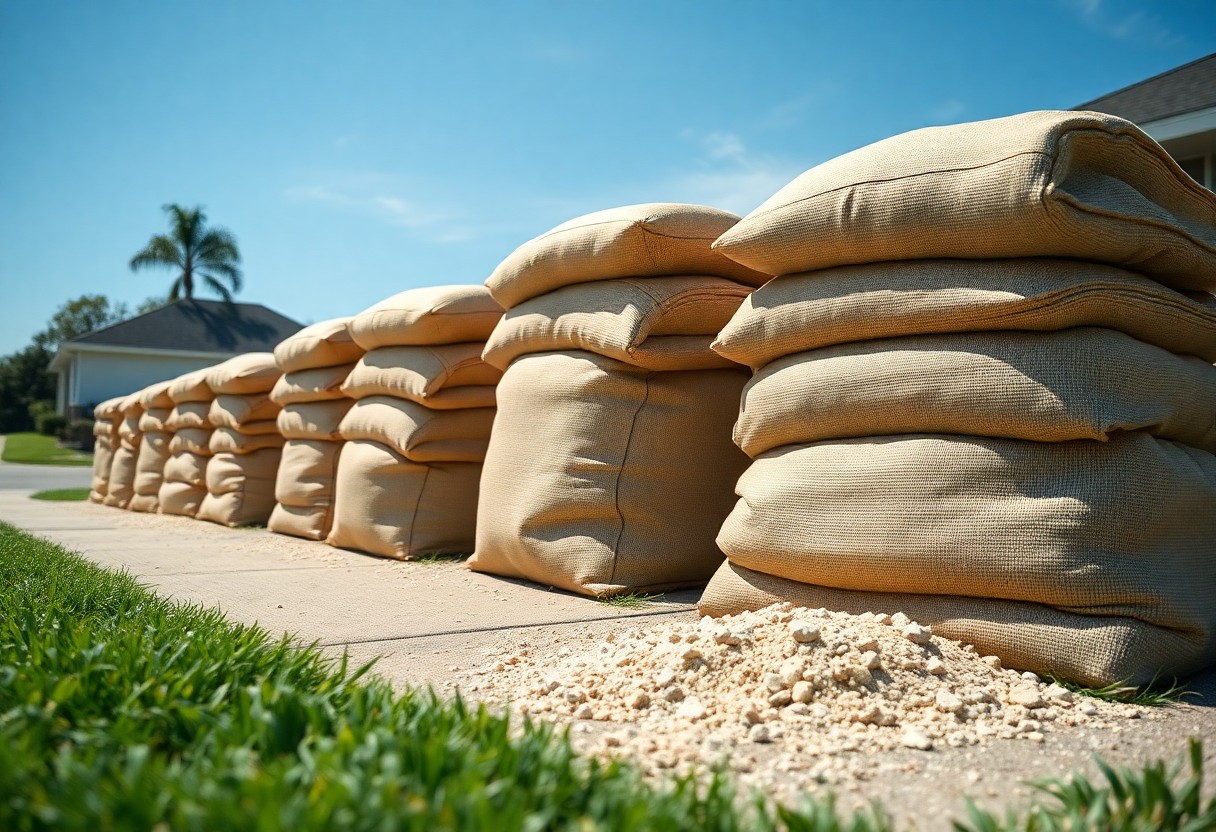
Sandbags are an effective and affordable way to protect your home from flood damage. By taking the time to properly set up sandbags, you can create a barrier that helps redirect water away from your property. This guide will walk you through the process step by step, ensuring you have the right materials and techniques at your disposal. Whether you’re preparing for an impending storm or just want to be proactive, your efforts can make a significant difference in safeguarding your home.
Key Takeaways:
- Choose durable materials like polypropylene for sandbags to withstand water pressure.
- Fill sandbags to about two-thirds full to ensure they are flexible and effectively stackable.
- Create a solid base by placing bags in a staggered formation for better stability and efficiency.
- Seal bags tightly to minimize water seepage and reinforce with additional layers if needed.
- Position sandbags in strategic locations such as doorways, window frames, and low-lying areas for maximum protection.
What You’ll Need
For an effective DIY sandbag setup, gather the important materials and tools beforehand. This ensures a smooth and timely process when facing potential flooding. Having everything at hand allows you to act quickly, maximizing the protective capabilities of your sandbags.Materials List
Your materials list should include empty sandbags, sand or alternative filling, and a shovel. Empty sandbags come in various sizes, typically ranging from 14 to 18 inches, while the filling should be coarse and compact to create effective barriers. The right amount of sand will depend on the project scale, but having extra ensures you won’t fall short.Tools Required
Key tools for this project include a sturdy shovel, a pitchfork or large scoop, and a wheelbarrow or cart for transporting sand. A good-quality shovel helps maneuver material efficiently, while a wheelbarrow allows for easy movement and loading. Each tool plays a vital role in streamlining your sandbag preparation and placement. Using a shovel with a comfortable grip makes it easier to fill bags efficiently, minimizing strain on your body. A pitchfork can help lift larger quantities of sand at once, while a wheelbarrow facilitates quick movement across uneven terrain. For optimal efficiency, consider a shovel with a wide blade to gather more material in each scoop, reducing the number of trips needed to fill your sandbags.Choosing the Right Location
Your sandbag setup’s effectiveness largely relies on its placement around your property. Identifying vulnerable points where water can enter or pool is necessary. This may include low-lying areas, doorways, and driveways that lead directly to your home. Evaluate weather forecasts to prioritize locations that are most at risk during anticipated storms.Assessing Your Property
Strategic Placement Tips
- Identify entry points where water is likely to breach.
- Use angles to redirect water flow away from your home.
- Position bags to create an effective wall against incoming water.
- Assume that proper height and tightness of the placements prevent overflow.
- Connect sandbags effectively to existing barriers for added strength.
- Consider using tarps or plastic sheeting to cover sandbags for extended protection.
- Maintain regular checks on placements to ensure they remain intact during storms.
- Assume that adjusting placements can help adapt to changing weather patterns.
Filling Your Sandbags
Filling sandbags properly ensures they create a robust barrier against floodwaters. Aim for bags that are around two-thirds full, permitting flexibility while still maintaining weight. Use a shovel to fill bags about 6-8 inches tall, allowing for easy handling. It’s better to have a few bags that are packed correctly than many that are poorly filled. Position filled bags to allow for layering, which enhances the effectiveness of your flood defense.Best Practices for Filling
For optimal results, hold the sandbag open with one hand while using the other to fill it. Avoid overfilling; the top should remain open to allow for secure stacking. Seal the bag by folding the top down tightly and tie it off, ensuring no sand escapes. This method helps maintain shape and integrity despite pressure from water.Alternative Filling Materials
If sand is unavailable, may substitute with gravel, soil, or even sawdust. Each material offers unique benefits—gravel provides excellent drainage, while sawdust can absorb moisture. Assess your local conditions to determine the most suitable option for your area. Choosing alternative filling materials like gravel or soil can effectively enhance flood preparedness. Gravel tends to pack more densely, reducing water flow through the bags, while soil offers a lightweight option with easy availability. Sawdust, although less common, serves well for areas prone to lighter flooding, absorbing excess water and preventing erosion. Evaluate what materials are accessible to you and consider local weather patterns when making your choice, as this will affect the performance of your sandbags during a flood event.Stacking Techniques
Proper stacking of sandbags enhances their effectiveness in flood prevention. Layer them using a brick-like pattern to maximize stability, ensuring that each bag supports the one above it rather than aligning directly on top. The stack’s height should not exceed three feet to prevent toppling, maintaining an optimal and secure wedge against potential flooding.How to Stack Sandbags Effectively
To stack sandbags effectively, always fill them to about 2/3 capacity, allowing flexibility and ensuring proper weight distribution. Start by placing the first layer, then add subsequent layers in alternating patterns, offsetting the seams for added strength. This method creates a more resilient barrier, capable of holding back water with greater efficiency.Tips for Stability
Ensure the stability of your sandbag wall by implementing a few necessary techniques. First, place your sandbags on a solid, flat surface to prevent slipping. Taper the wall’s slope gently, allowing for better weight support. Periodic checks during and after stacking help maintain wall integrity, reinforcing the structure against external forces.- Layer bags in a staggered pattern.
- Use gravel or soil for additional support.
- Consider more bags in high-risk areas.
- Recognizing the need for regular inspections can prevent potential failures.
- Check for any visual signs of erosion.
- Adjust bags as needed for better fit.
- Redistribute weight for optimal balance.
- Recognizing environmental factors, such as nearby vegetation or slopes, aids in strategic placement.
Maintenance and Care
Proper maintenance and care of your sandbags will ensure they remain effective over time. Regular inspections and timely replacements are imperative to maintain the integrity of your flood prevention setup. Additionally, storing your sandbags in optimal conditions can extend their lifespan and readiness for when you need them the most.Inspecting Your Sandbags
Regularly inspect your sandbags for signs of deterioration such as tears, leaks, or ground settling around them. Checking for changes after heavy rains is especially critical, as even minor damage can compromise their effectiveness. A quick inspection can help identify problems early, allowing for swift intervention.When to Replace
Replace sandbags that show visible signs of damage, such as torn seams or excessive wear, as well as those that have been exposed to standing water or chemicals. Even bags that appear intact but have been in place for over a year should be considered for replacement to ensure maximum protection. It’s advisable to establish a routine schedule for replacement every year or after significant flooding. If your bags have been used in a flood event, even if they look fine, they may have sustained invisible damage or contamination. For best results, always err on the side of caution and replace rather than risk using compromised sandbags. This proactive approach can mean the difference between safety and disaster during future flood events.During a Flood
As the floodwaters rise, your sandbag barriers become your first line of defense. Ensure that bags are tightly packed and monitor the structure frequently. Adjustments may be needed to reinforce weak spots. For detailed instructions on optimal placement, refer to How to Place Sandbags to Prevent Flooding—Step by Step.Last-Minute Preparations
In the final hours before a flood, gather any remaining sandbags and ensure they are positioned correctly. Inspect your barriers for stability and add extra bags where water seems to threaten. Close off areas that are vulnerable and secure any outdoor items that could be swept away.Safety Tips
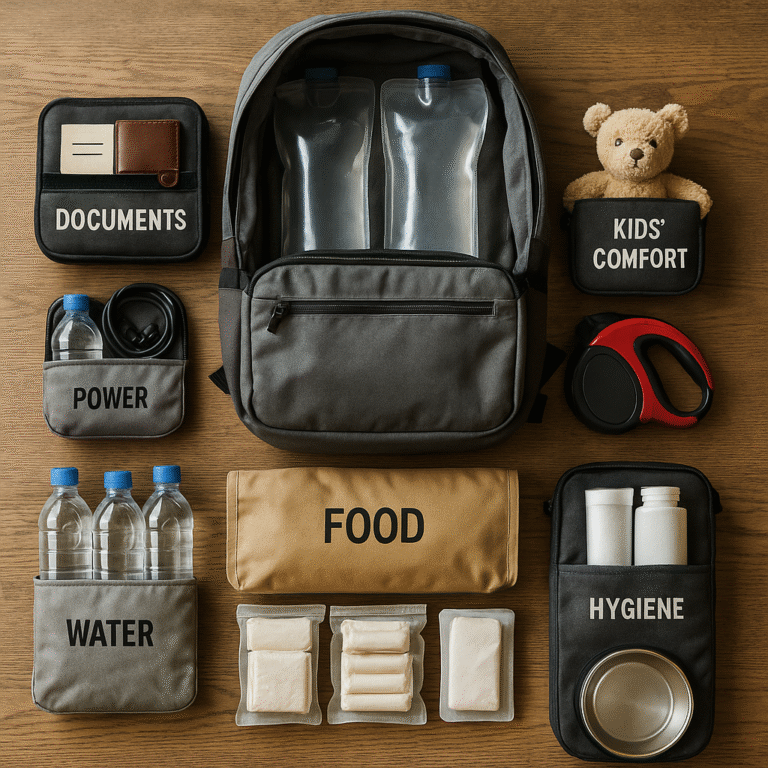
Flood situations can pose serious risks, so prioritize your safety. Stay updated with local weather reports and evacuate if advised. Avoid wading through floodwaters, as they may hide hazardous debris or deep currents. Ensure you have an emergency kit ready, including food, water, and important documents.- Keep your phone charged and have a battery-powered radio to stay informed.
- Wear protective clothing and gear to shield yourself from contaminants.
- Stay indoors as much as possible, especially during heavy rain.
- Any alert notifications can guide your response to developing situations.
- Be clear about local evacuation routes and share them with your household.
- Secure your property against unwanted entry, bolstering doors and windows.
- Any safety measures taken ahead of time can greatly mitigate risks during a flood.